nodejs core调试
声明,本文特指使用vscode,调试nodejs native和build-in模块,比如/src/connection_wrap.cc,/lib/net.js代码。
适用对象为:开发nodejs核心源码或者对其感兴趣的童鞋。
业务js代码调试,可参见nodejs官网调试指南。
step1,下载nodejs源码安装包
打开github上的仓库(https://github.com/nodejs/node), 克隆到本地
git clone https://github.com/nodejs/node.gitstep2, 编译nodejs
本文以macos为例。
编译前需要安装:(详见build工具)
- Xcode Command Line Tools >= 10 for macOS
- Python (see note above)
- Python 2.7
- Python 3.5, 3.6, 3.7, and 3.8.
在刚才clone的node路径下,执行以下两个命令(耗时较长,大概需要10-30分钟)。
- ./configure
- make -j4
注意:由于release版本中,包含了C++的调试信息,因此如果只是调试C++文件,不需要加--debug。
编译好后,会在当前目录下,新增一个out目录,编译后的node存放在out/Release/node。
step3, 验证编译
在当前目录下,执行一下命令
out/Release/node -v如果能正确显示node的版本,那么证明nodejs编译成功。
step4, 开始调试
用vscode打开刚才的node目录, 添加launch.json文件。方式如下:
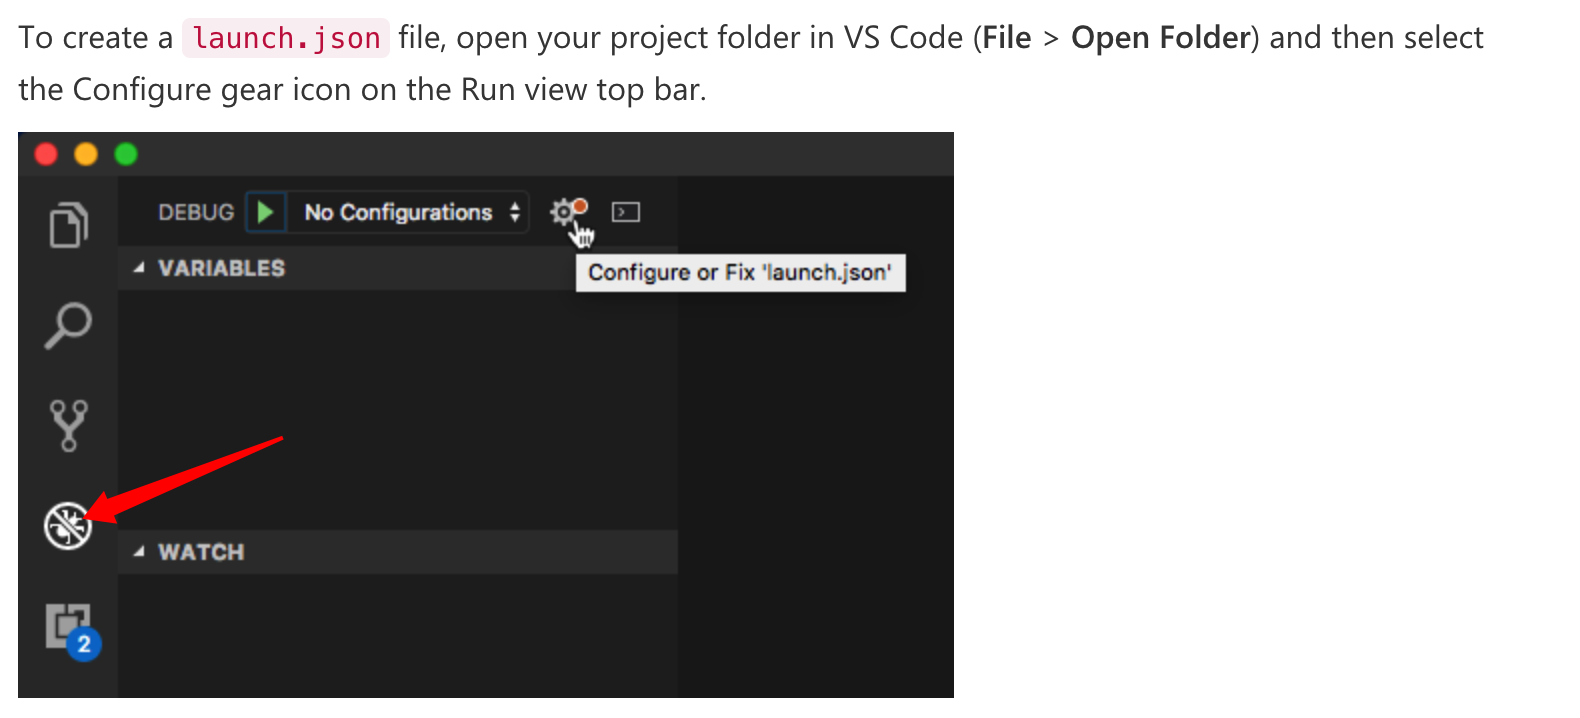
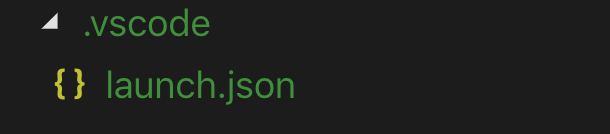
vscode会在当前目录下,生成一个launch.json文件。
打开该文件,按照以下格式填写
{
    // Use IntelliSense to learn about possible attributes.
    // Hover to view descriptions of existing attributes.
    // For more information, visit: https://go.microsoft.com/fwlink/?linkid=830387
    "version": "0.2.0",
    "configurations": [
        {
            "name": "(lldb) Launch",
            "type": "lldb",
            "request": "launch",
            "program": "{workspace}/out/Release/node", // 请填写绝对路径
            "args": [
              "--expose-internals",
              "{workspace}/test.js" // 建议填写绝对路径,告诉vscode启动文件
            ],
            "stopAtEntry": false,
            "cwd": "{workspace}/out/Release/", // 请填写绝对路径
          }
    ]
}
然后新增一个test.js文件,用于调试,你可以直接用下面的内容:
const net = require('net');
// 2.创建一个服务
const server = net.createServer((c) => {
// 'connection' listener.
console.log('client connected');
c.on('end', () => {
console.log('end');
});
c.on('data', () => {
console.log('data event');
c.write('HTTP/1.1 200 OK\r\n');
c.write('Connection: keep-alive\r\n');
c.write('Content-Length: 12\r\n');
c.write('\r\n');
c.write('hello world!');
})
});
server.on('error', (err) => {
throw err;
});
// 3.监听端口
server.listen(9090, () => {
console.log('server bound');
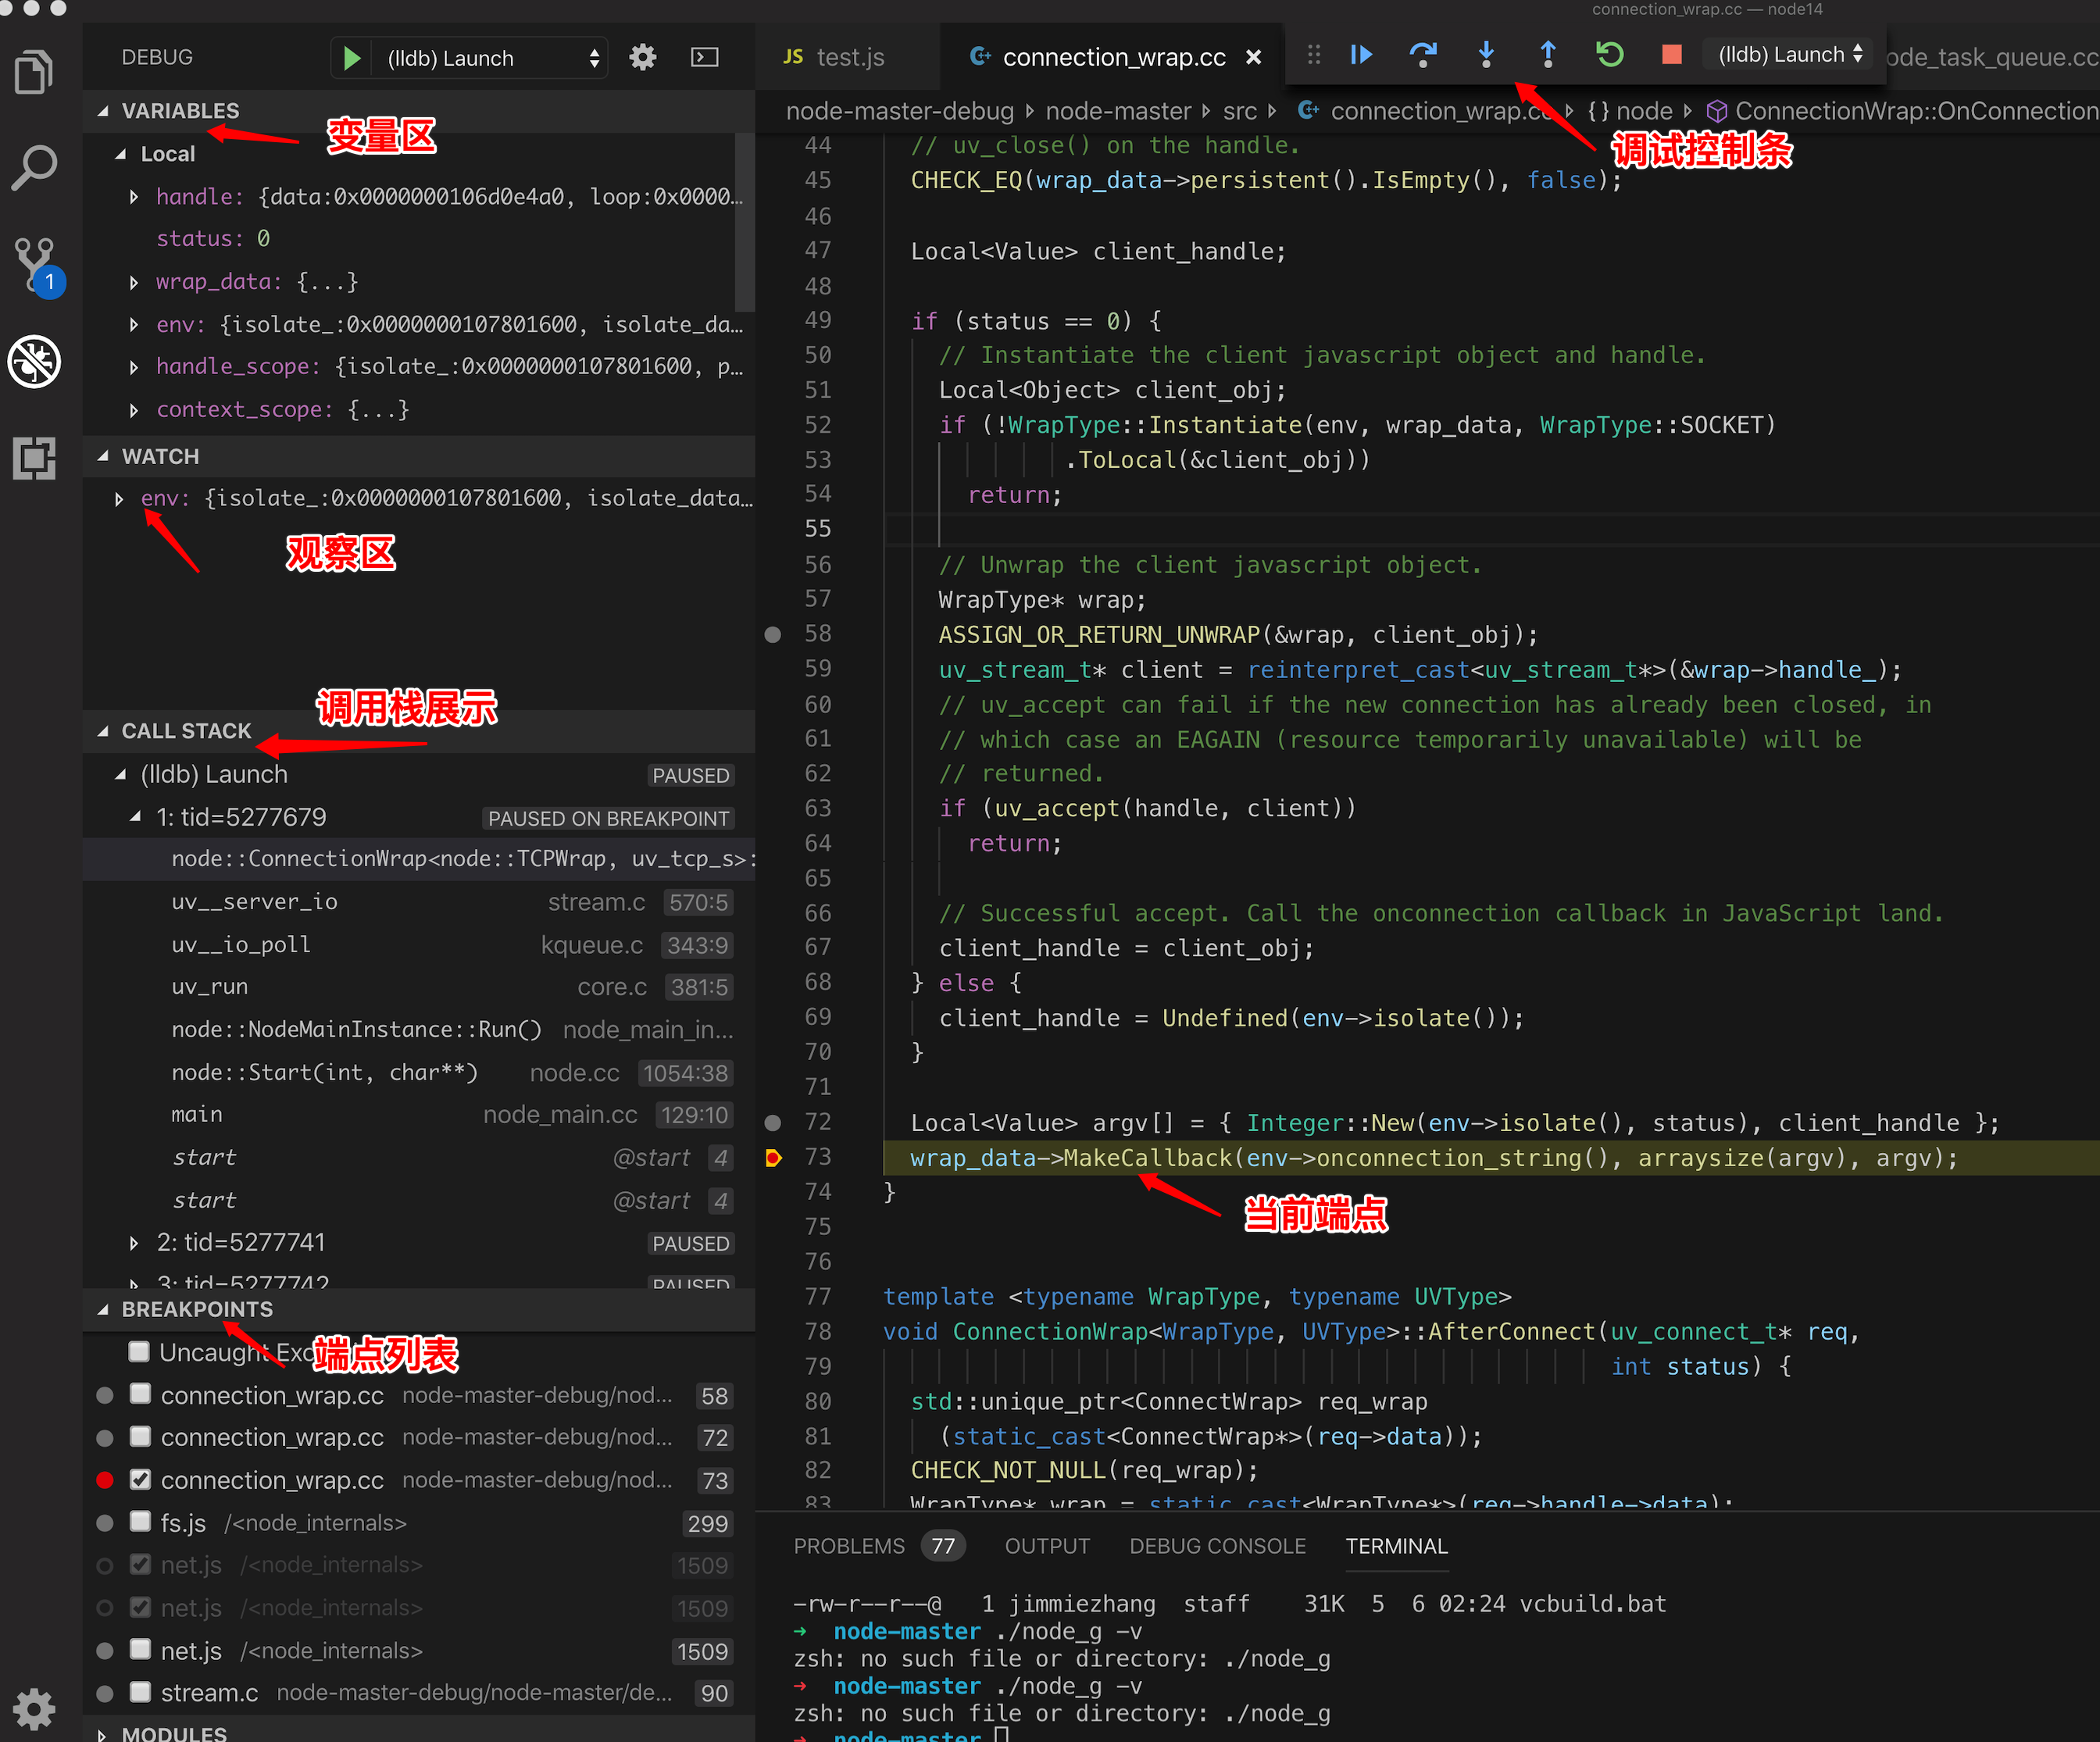
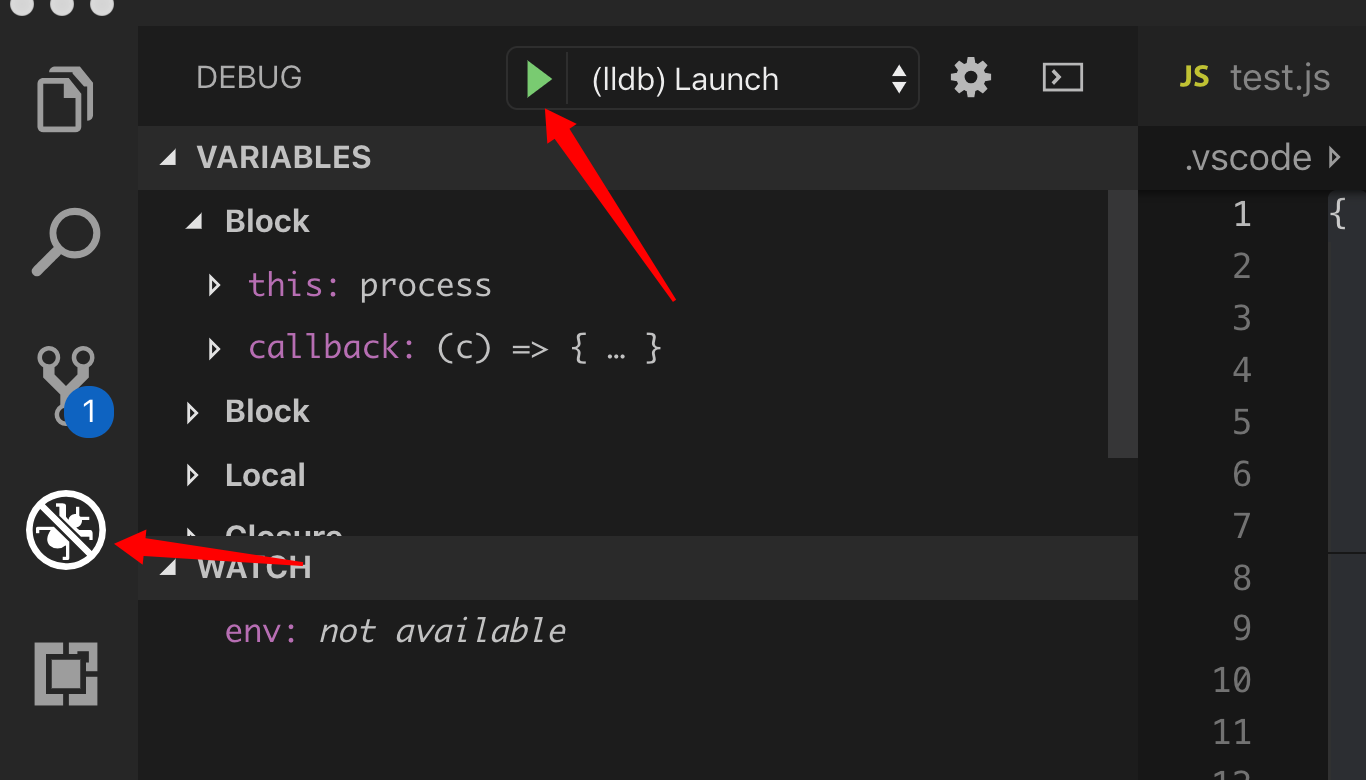
});一切准备就绪,点击vscode顶部的 “Debug->Start Debugging(F5)”, vscode自动启动debug面板。
你可以在vscode中打开一个文件,比如connection_wrap.cc, 用鼠标加一个端点。
然后用浏览器访问http://localhost:9090/, vscode会自动将程序停止在端点处。
如何调试nodejs 内核js代码呢?(比如/lib/net.js下的代码)
修改launch.json
只需要改动一下launch.json即可。
- 将C++的启动添加一个参数,"--inspect-brk=9090",
- 增加一个调试项目 attch, 把新的debugger 附加到已经启动的进程上。
改动后的launch.json如下:
{
    // Use IntelliSense to learn about possible attributes.
    // Hover to view descriptions of existing attributes.
    // For more information, visit: https://go.microsoft.com/fwlink/?linkid=830387
    "version": "0.2.0",
    "configurations": [
      { // 先通过launch启动C++的lldb debugger,并设置启动参数--inspect-brk=9090
        "name": "(lldb) Launch",
        "type": "lldb",
        "request": "launch",
        "program": "/Users/jimmiezhang/wx_work/node14/node-master/out/Release/node",
        "args": [
          "--expose-internals",
          "--inspect-brk=9090",
          "/Users/jimmiezhang/wx_work/node14/node-master/test.js"
        ],
        "cwd": "/Users/jimmiezhang/wx_work/node14/node-master/out/Release/",

      },
      { // 然后启动一个node的debugger,类型为attch, 附加到已经运行的9090的进程上。
        "type": "node",
        "request": "attach",
        "name": "Attach",
        "port": 9090
      },
    ]
}
启动调试
按照以下顺序启动即可
- 先启动(lldb) Launch的debugger
- 然后启动Attach的debugger
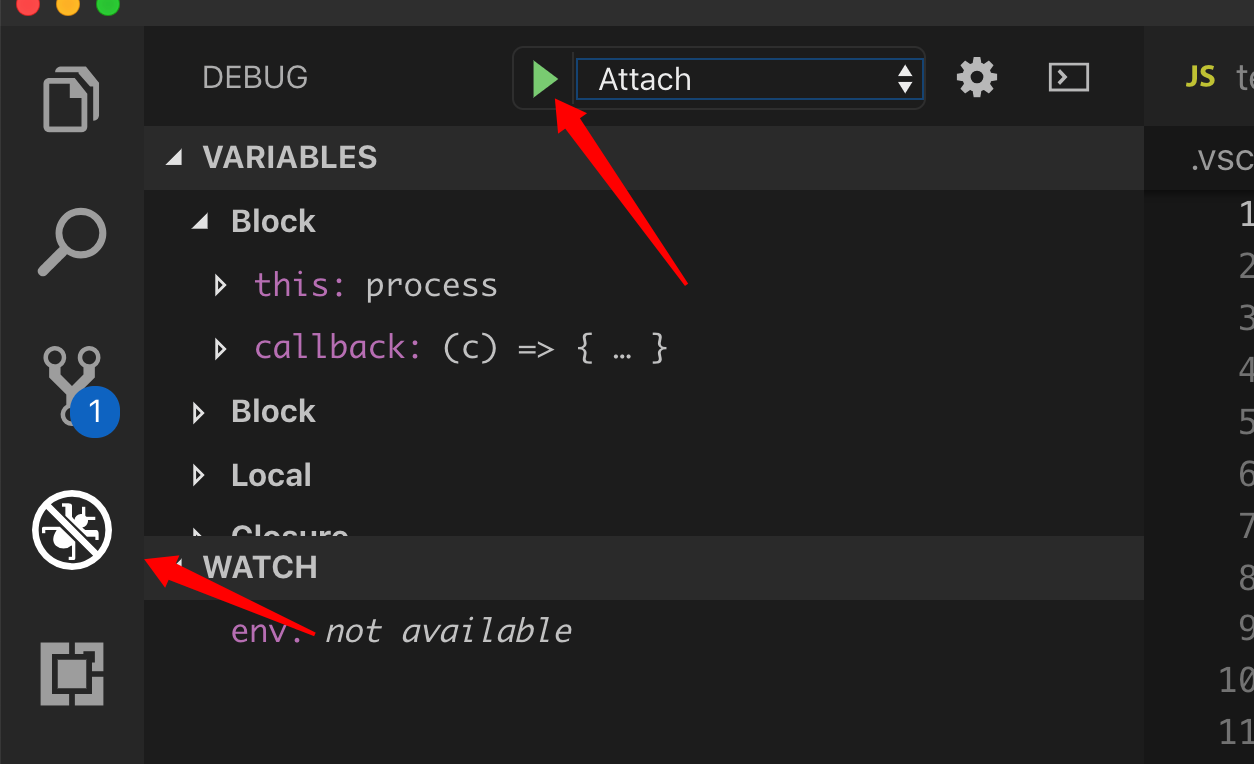
然后你就可以同时调试C++和js代码了。